Wiring Procedure for a Nissan Murano (ModulLite 18146)
WARNING: The Author does not accept any
responsibility for damage done by following these instructions. While this
worked for him, it may not work for you. USE AT YOUR OWN RISK!!
What you will need: The proper fuse for you wiring kit, 10 AMP for the ModuLite. You can use the 10AMP spare in the fuse box under the driver's side dash. Electrical tape to clean things up after you are done. Quick splice wiring clips 16-14 gauge (May be in your package, I got mine from eBay and I had to buy these separately). An adjustable wrench to for the quick splice clips (Note: When splicing, leave the plastic cover up while using the wrench on the metal clip, then close the plastic lid after the splice is complete).
Here is a picture of the ModuLite Trailer Light Power Module (part number 18146). It has 6 wires. Black (Battery), Green (Right Turn Light), Red (Stop), Yellow (Left Turn), Brown (Tail), and White (Ground).

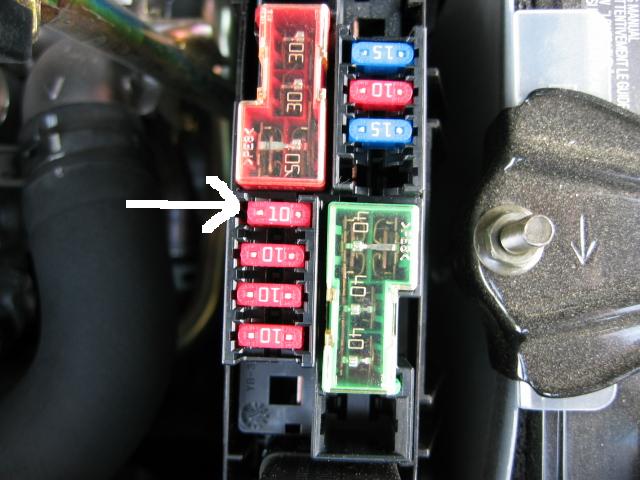
Remove the 30 AMP T/TOW fuse from the fuse box next to the battery in the front of the car. You will later need to replace it with a 10AMP fuse (fuse recommended by ModuLite). Yeppers, that pesky fuse is in backwards. I noticed it after I took the picture.
Unwrap the wire bundles found at the back left of the trunk, in the wheel well. The Bundle of wires coming straight out going to the left taillight we will call B1. The Bundle of wires going to the right towards the right taillight we will call B2.
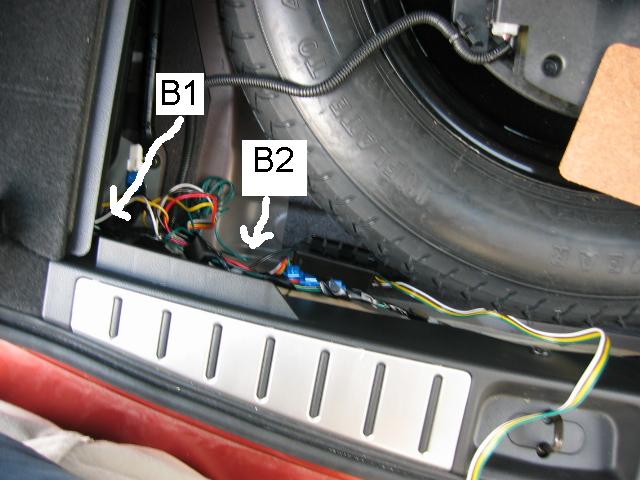
There are two wires that we need to connect to B1.
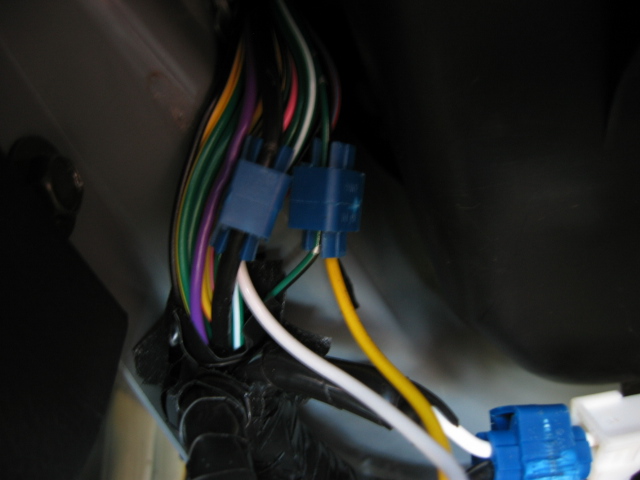
The White wire on the ModuLite (Ground) connects to the thick Black wire in B1.
The Yellow wire on the ModuLite (Left Turn) connects to the Green wire with a Black Stripe in B1.
There are three wires that we need to connect to B2.
The Green wire on the ModuLite (Right Turn) connects to the Green wire with a Yellow Stripe in B2.
The Red wire on the ModuLite (Stop) connects to the Red wire with a Green Stripe in B2.
The Brown wire on the ModuLite (Tail) connects to the Red wire with a small Blue Stripe in B2.
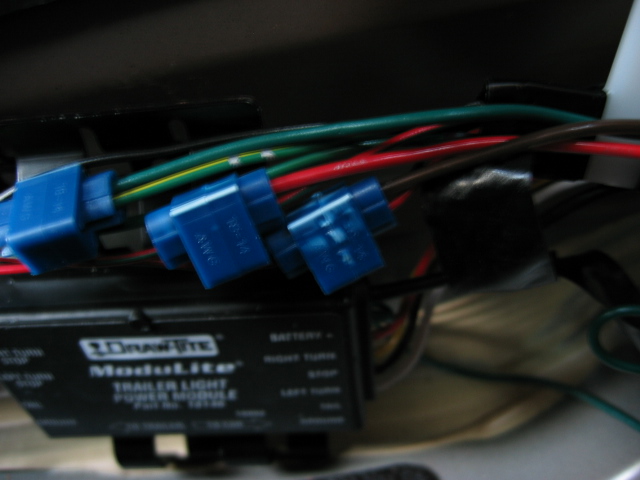
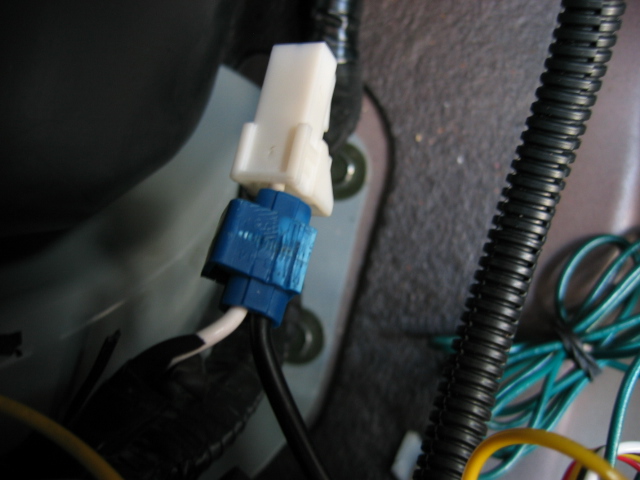
Finally we need to hook up our battery wire. Find the White wire with a connector on the end. It is separate from the other wire bundles.
The Black wire on the ModuLite (Battery) connects to the White wire with the connector on the end..
Now replace the 30AMP fuse that you took out at the beginning with a 10AMP fuse (or the fuse specified by your trailer kit documentation).
You can now test your connection using a multi-meter, a test light, or by connecting a trailer.
When complete, you can screw down the ModuLite. I decided to leave mine floating in the trunk. I just need to make sure to tie the wiring off to a loop in the hitch. That way if I lost the trailer, it would pull the connectors apart instead of ripping out the wiring and possibly damaging the hatch.